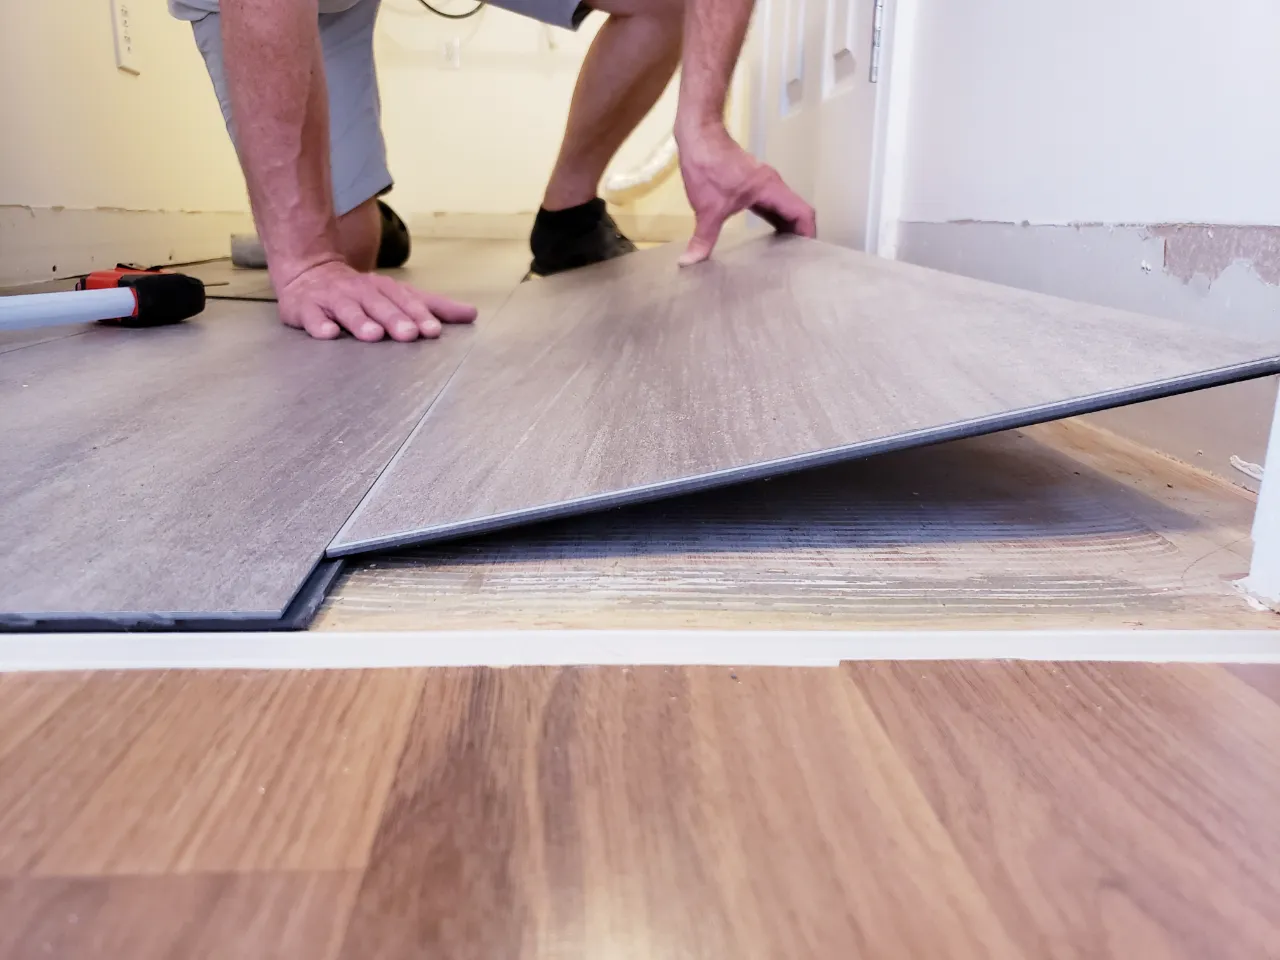
Uneven or squeaky floors in your Connecticut home are more than an annoyance. They're usually a sign that something under the surface needs attention, and they matter a lot if you're planning new flooring. A squeak here or a soft spot there is easy to ignore, but those symptoms point to the subfloor, the layer your finished floor actually rests on. If that layer isn't flat, dry, and solid, any new floor you install on top will have the same problems, plus a few new ones. In older Connecticut homes especially, decades of settling, moisture, and foot traffic take a toll on subfloors and framing. The result is dips, bounce, and that familiar creak underfoot. In this guide, we'll explain what causes uneven and squeaky floors, why it matters before you install flooring, how the problem gets fixed, and when it's time to call a pro. Catching it early saves money and protects the new floor you're about to install.
What Causes Uneven and Squeaky Floors
Most squeaks and dips start with the subfloor and framing beneath your finished floor. Over time, the subfloor panels can loosen from the joists, and the movement between them is what you hear as a squeak. Dips and slopes usually come from settling, undersized or spaced-out joists, or old moisture damage that softened the wood. In many older Connecticut homes, the framing simply wasn't built to today's standards, so some unevenness is baked in. Humidity swings make it worse, since wood expands and contracts through the seasons. Loose fasteners, gaps between the subfloor and joists, and worn-out old flooring all add to the problem. The key point is that these are structural issues underneath, not something a new floor on top will hide or solve on its own.
Why It Matters Before You Install Flooring
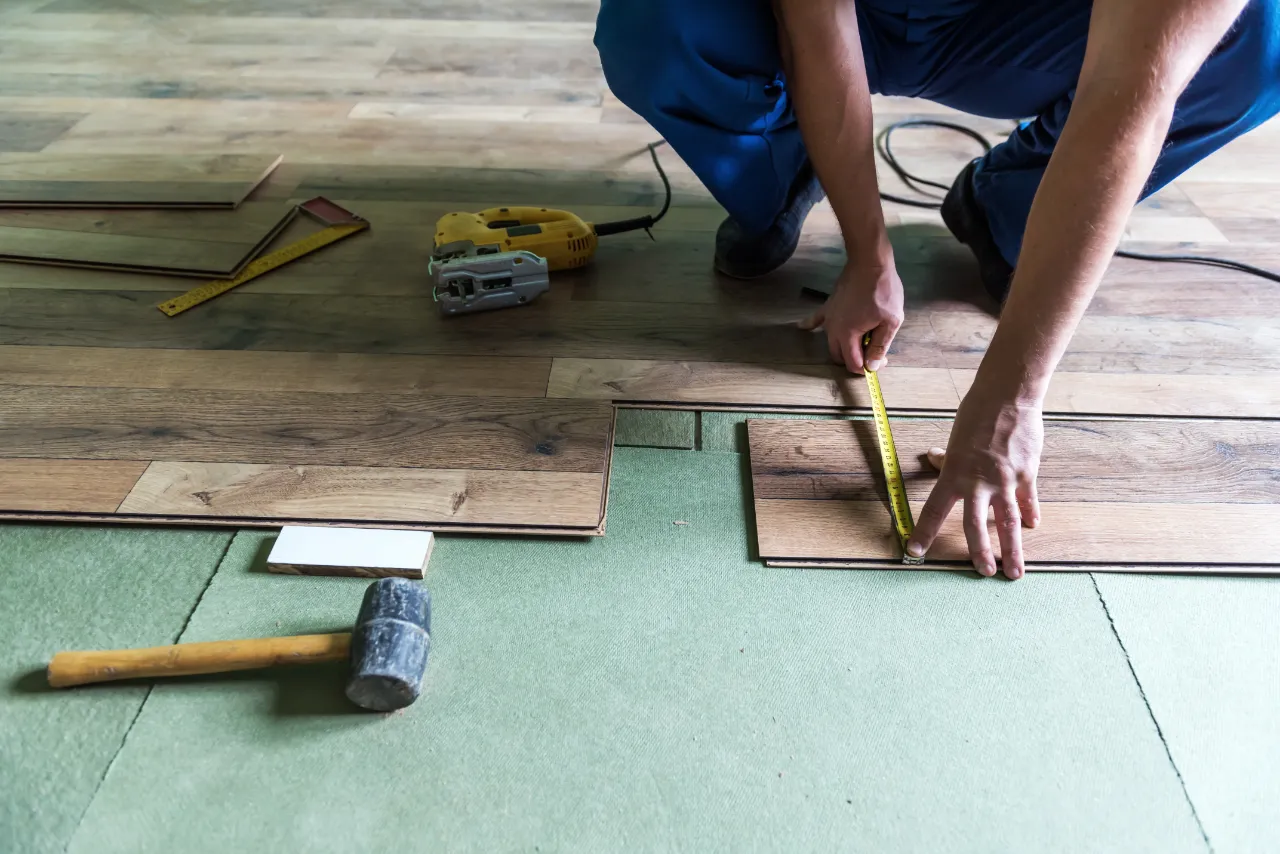
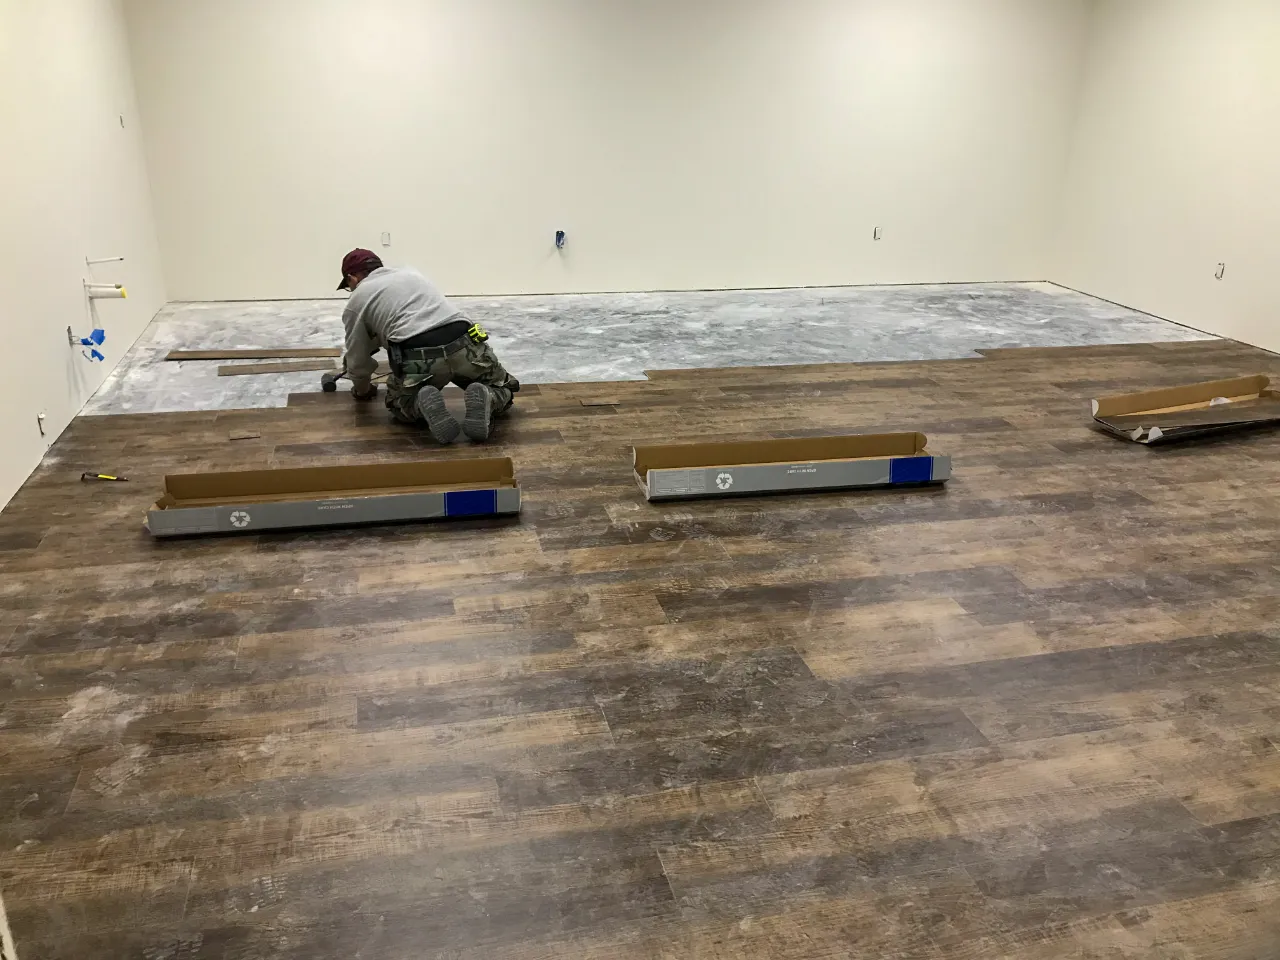
Here's the part homeowners often miss: new flooring only performs as well as the subfloor under it. Install luxury vinyl, tile, or hardwood over an uneven or bouncy base, and you invite problems. Tile can crack along grout lines when the floor flexes. Vinyl planks can separate at the seams or telegraph every dip. Hardwood can squeak, gap, or cup. That's why any quality flooring job starts with prepping and leveling the subfloor, not just laying the new surface. Skipping that step to save time almost always costs more later in callbacks and repairs. If your floors are already uneven or squeaky, fixing the base first is the difference between a floor that lasts for years and one that shows problems within a season. Good prep is the foundation, literally, of a good floor.
How the Problem Gets Fixed
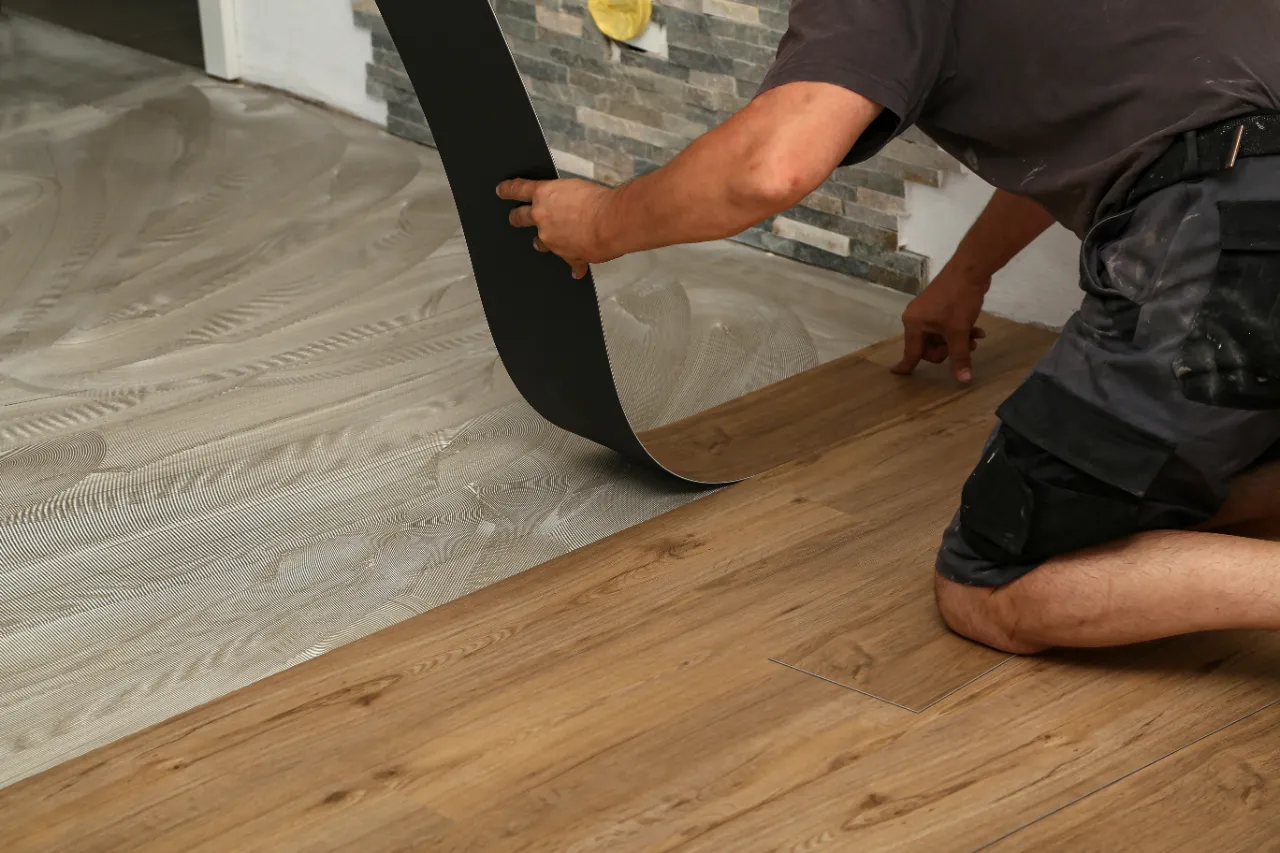
Fixing uneven or squeaky floors starts with finding the real cause. We inspect the subfloor and framing, check for moisture, and identify low spots and loose areas. Squeaks often get resolved by re-securing the subfloor to the joists with the right fasteners. Dips and slopes can be corrected by adding a leveling compound, shimming, or reinforcing joists, depending on how far off things are. Any water-damaged or rotted material has to be replaced, not painted over. Once the base is solid, flat, and dry, the new flooring goes down on a surface that supports it properly. This is where working with a contractor who handles both subfloor prep and flooring installation pays off, since the same team owns the result from the ground up instead of blaming the layer below.
When to Call a Pro
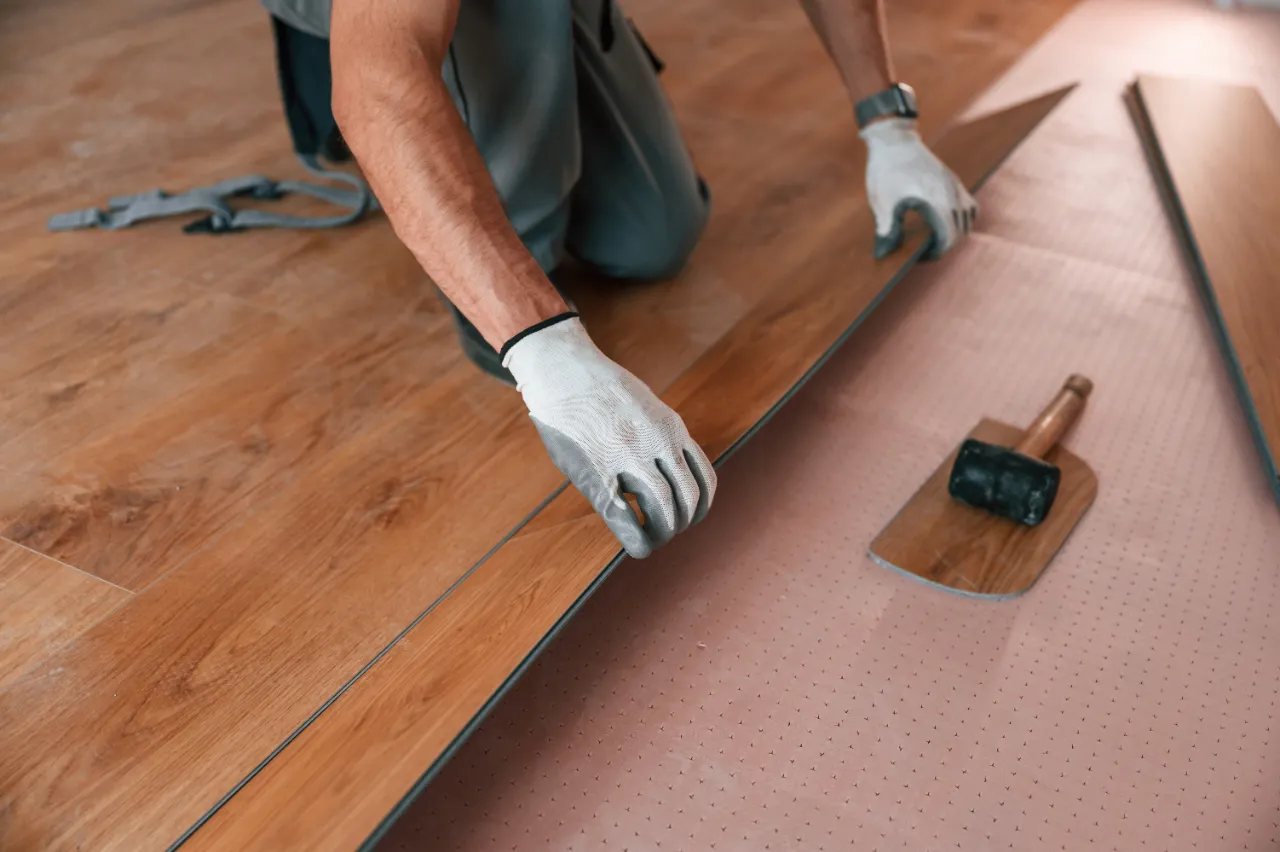
Some minor squeaks are harmless, but there are signs worth acting on. If you notice soft or spongy spots, visible sloping, gaps opening between floors and baseboards, or squeaks that are spreading, it's time for a professional look. The same goes if you're planning any new flooring, since that's the moment to fix the base once and do it right. A pro can tell the difference between a cosmetic creak and a structural issue, and can spot moisture problems before they spread. Trying to install a new floor over an unaddressed subfloor is one of the most common flooring mistakes we see. A quick inspection up front saves money and prevents a floor that looks great on day one and fails a few months later.
Recent Work
Quick Tips
- Scrape back to a sound edge before any new coat goes on.
- Prime every spot of bare wood, not just the worst areas.
- Paint in dry, mild weather so the coat cures properly.
- Fix the moisture source first, or the peeling comes back.
Planning this project?
Tell us what you have in mind and we will send a free, no-obligation estimate.
Get Free Estimate